

Welcome to my first DIY of the year! Today I will be doing a Calendar, planner and a Journal. Let's Begin! Also, I uploaded a video on how I did it. I'll link it down below. :D
These are the things that you will need:

Stickers.


3 whole puncher and a ruler.


Scissors

Pens & Markers

1. First, I am going to design my binder. Here, I measured the size of the binder to make my binder cover. I am using this card stock that I got from Michaels. You can use or do anything that you want when it comes to the binder. :)

2. I cut out a rectangular cardstock to stick my stickers on.

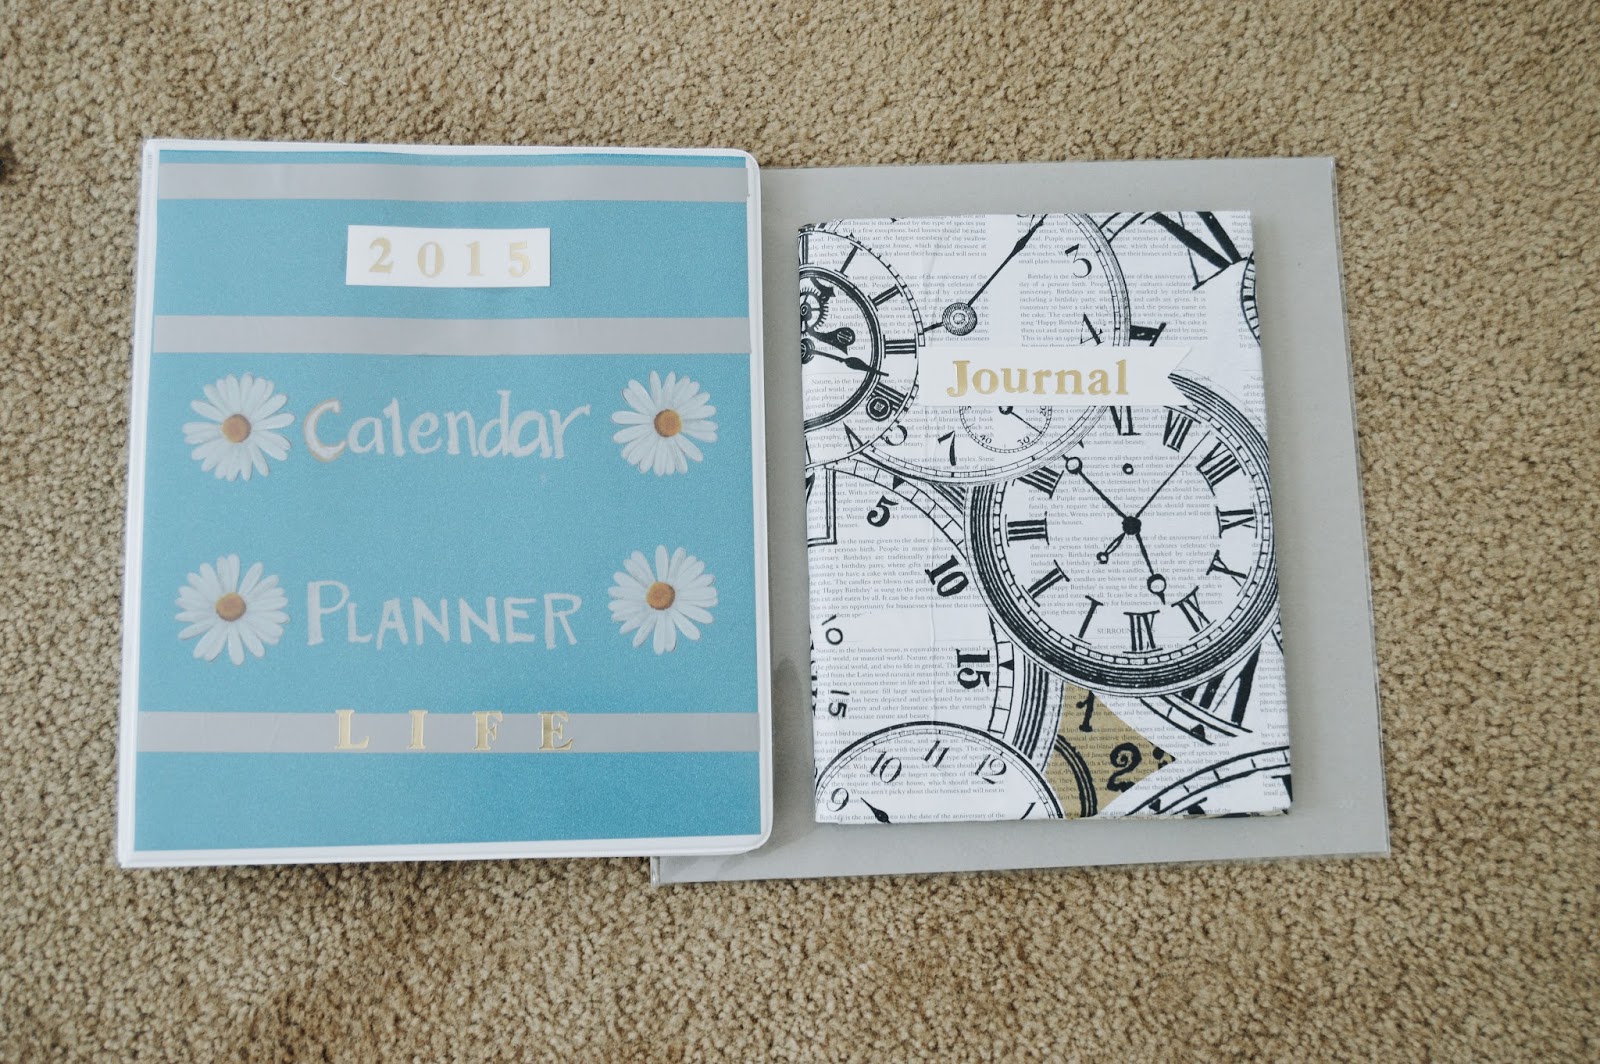
3. So far, this is what my binder looks like. You can design it your way. :D


4. This is what I came up with. :) I want to keep it simple but I don't know if I'm satisfied with this. Haha!

5. Now onto the calendar. I did most of them already since it takes time to draw the lines and measure it. I used my gold washi tape to layout the cardstock. Then I drew the lines with a gold sharpie.

Here is the outcome. I'm so happy with the result! It's very classy and simple. :D


6. Next is the planner. I also DIY'd my planner and this one takes a lot of work too. I used filler paper for it.


7. Our final project is a Journal! I am excited for this one because it is my favorite! :) You will need a notebook, scrapbook papers, mod podge and scissors.

8. Measure the scrapbook papers that we will use for the notebook cover. Again on this one you can use any scrapbook paper that you want. :)

9. We are almost done. I cut out a rectangular piece of cardstock where I will put my sticker on.

10. There you go!We are done! Simple and easy Diy's. :D


I hope you guys enjoyed it! Until next time! <3
Here is my video for it! :) Have an amazing day beautiful people!


0 comments:
Post a Comment