

Showing posts with label diy. Show all posts
Showing posts with label diy. Show all posts


Here's to another day in my boring life. Haha! This was actually yesterday. I was bored so I decided to finally paint my Mason jars. I've been wanting to do this for a long time but you know how lazy I am right?! Haha! I am so happy that I finally did it! For sure there's a lot of this DIY already and I haven't really designed mine yet. I will have to look for my things still. I haven't packed out all my things since I moved here in California. Haha! Well, today I just went to school and didn't really go anywhere after that. It was cloudy so I decided to have another lazy day (like everyday) haha! How was your day? :)

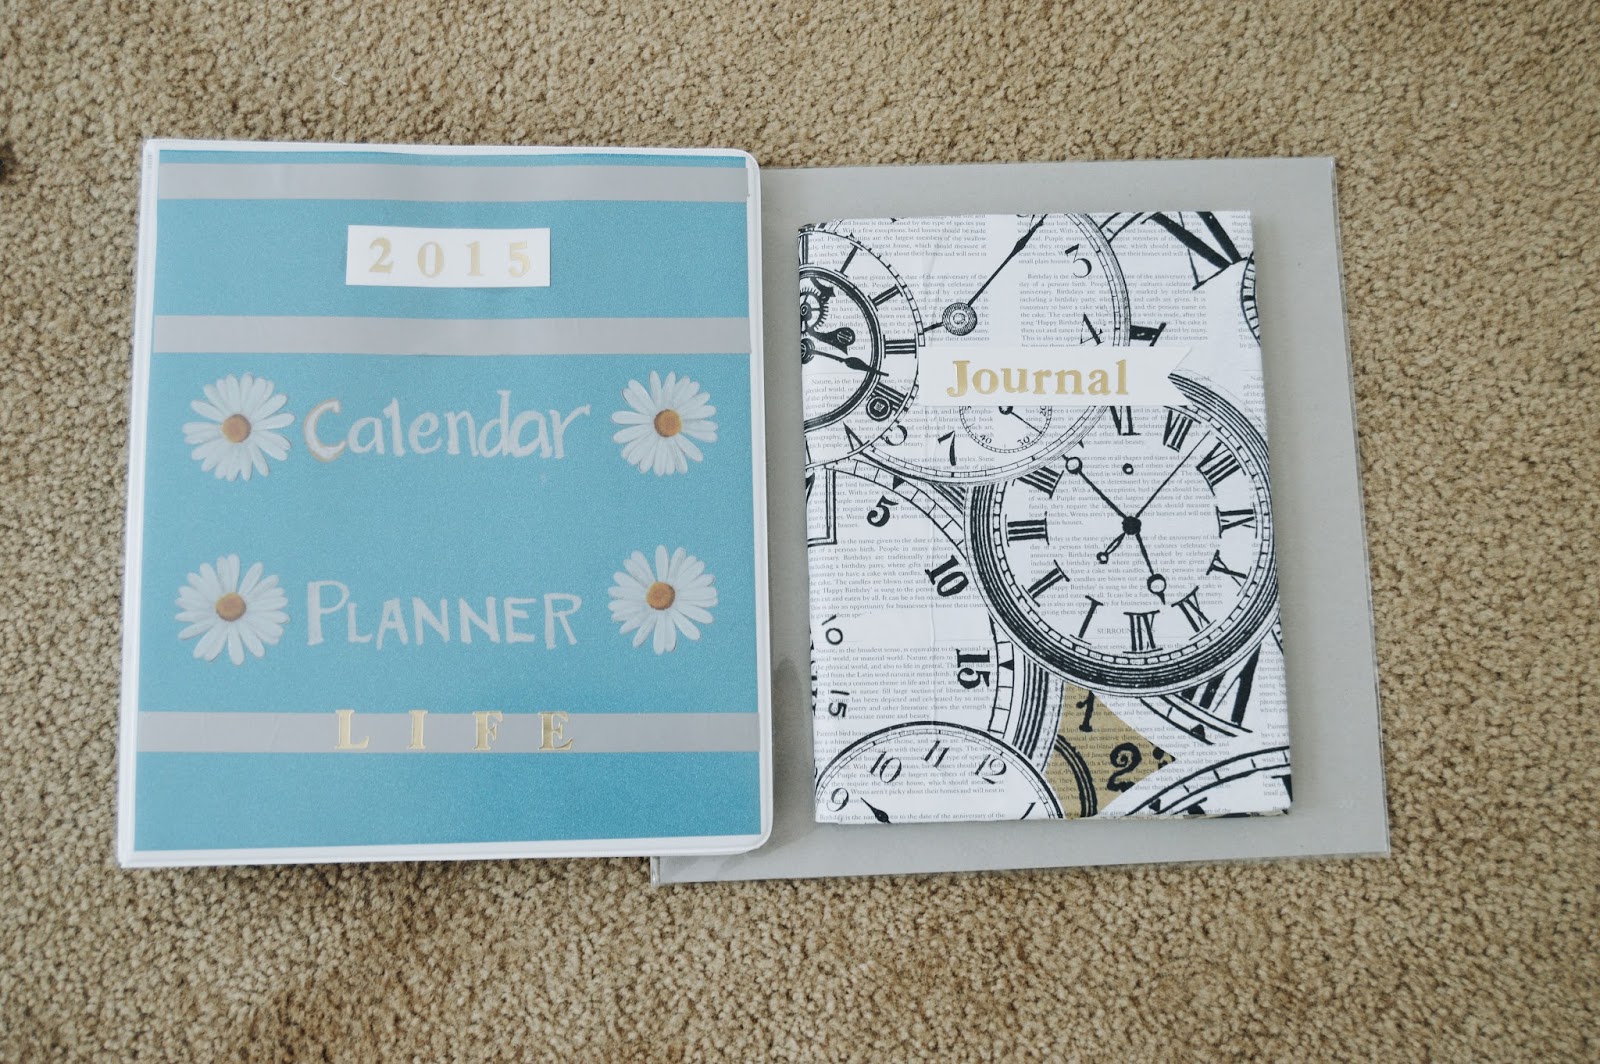
Welcome to my first DIY of the year! Today I will be doing a Calendar, planner and a Journal. Let's Begin! Also, I uploaded a video on how I did it. I'll link it down below. :D
These are the things that you will need:

Stickers.


3 whole puncher and a ruler.


Scissors

Pens & Markers

1. First, I am going to design my binder. Here, I measured the size of the binder to make my binder cover. I am using this card stock that I got from Michaels. You can use or do anything that you want when it comes to the binder. :)

2. I cut out a rectangular cardstock to stick my stickers on.

3. So far, this is what my binder looks like. You can design it your way. :D


4. This is what I came up with. :) I want to keep it simple but I don't know if I'm satisfied with this. Haha!

5. Now onto the calendar. I did most of them already since it takes time to draw the lines and measure it. I used my gold washi tape to layout the cardstock. Then I drew the lines with a gold sharpie.

Here is the outcome. I'm so happy with the result! It's very classy and simple. :D


6. Next is the planner. I also DIY'd my planner and this one takes a lot of work too. I used filler paper for it.


7. Our final project is a Journal! I am excited for this one because it is my favorite! :) You will need a notebook, scrapbook papers, mod podge and scissors.

8. Measure the scrapbook papers that we will use for the notebook cover. Again on this one you can use any scrapbook paper that you want. :)

9. We are almost done. I cut out a rectangular piece of cardstock where I will put my sticker on.

10. There you go!We are done! Simple and easy Diy's. :D


I hope you guys enjoyed it! Until next time! <3
Here is my video for it! :) Have an amazing day beautiful people!
Let's start!
First you will need frames that you don't use anymore. I found these in my mom's room (sshh don't tell her) :p

You will also need a string, a super glue, a double sided mounting tape, and some accessories.
String, Super Glue & Scotch Tape- I bought it at the dollar store
Accessories- I bought it at Walmart.

And also a scissor, and I used small wooden clothespins.
Small wooden clothespins- I purchased it at Walmart.

This one is optional. You can always leave the frame without anything on it or you can put anything that you want to it. I super glued all these roses accessories to the frame to add colors and designs to it. I used pink and red rose accessories on two of my frames.

This is what it looks like.

When you're done with the front one, let's do the back part. Get a piece or two of the string and tape it on the back of the frame, both sides. After a while, the tape will be non-effective and will fall out of nowhere, so i suggest to put a little bit of super glue to it to secure that it won't fall.

So far so good! :D

Put the clippers on.

Taadaaaa! We are done! This is the finish product. Clip your instax mini photos and have fun with it!

This is a fun and easy project! Try it! It won't hurt. :)


